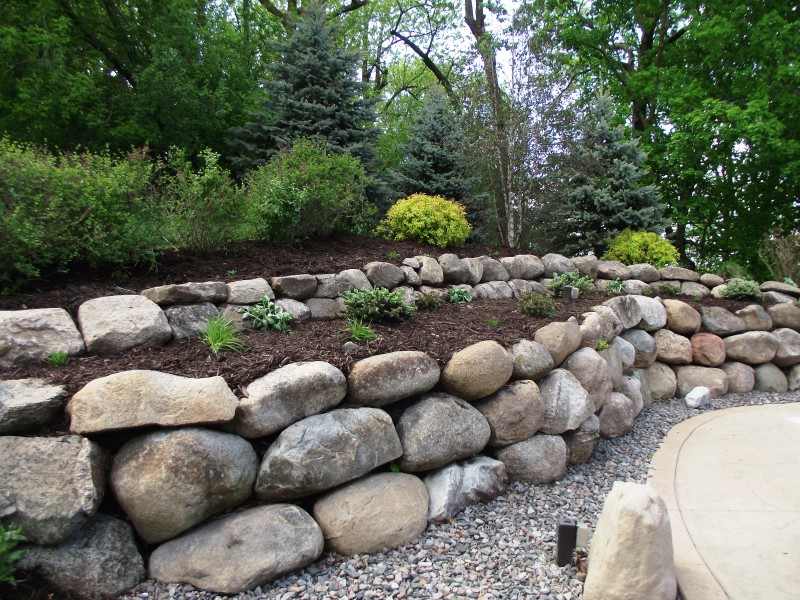
Are you an ambitious homeowner looking to take your landscaping into your own hands? Building a boulder wall can be a rewarding and cost-effective DIY project if you have the right knowledge and tools. In this article, brought to you by Utah Boulder Walls, we’ll share essential tips and guidance for ambitious homeowners venturing into DIY boulder wall projects.
1. Planning and Design
a. Assess Your Site
Before you start, thoroughly assess your site. Consider factors such as soil type, drainage, and the purpose of your boulder wall. This assessment will help determine the appropriate location and size of your wall.
b. Design Your Wall
Create a detailed plan and design for your boulder wall. Decide on the height, length, and style of your wall. Consider whether it will be purely functional or also serve aesthetic purposes.
2. Safety First
a. Protective Gear
Safety should be a top priority. Wear appropriate protective gear, including gloves, safety glasses, and sturdy footwear. Boulder wall construction can involve heavy lifting and potential hazards.
b. Use Proper Techniques
Learn and use proper construction techniques for stacking boulders. Ensure that the wall has proper batter (slope) for stability. Secure boulders firmly, and avoid unstable arrangements.
3. Stone Selection
a. Choose the Right Stones
Select boulders that are appropriate for your project. Look for stones that are large, heavy, and have flat surfaces for stability. Ensure that stones interlock securely to prevent shifting.
b. Local Sourcing
Whenever possible, source your stones locally. This can save on transportation costs and ensure that the stones are well-suited to your region’s climate and terrain.
4. Foundation and Drainage
a. Proper Foundation
A solid foundation is essential for a stable boulder wall. Dig a trench for the base, ensuring it is level and well-compacted. This provides stability and helps with drainage.
b. Adequate Drainage
Incorporate drainage features, such as weep holes, behind the wall to prevent water buildup that can weaken the structure. Proper drainage is critical for long-term durability.
5. Lifting and Placement
a. Safe Lifting Techniques
When lifting heavy boulders, use safe lifting techniques. Bend your knees, not your back, and get assistance when needed. Avoid overexertion.
b. Arrange Stones Carefully
Carefully arrange the stones, ensuring they fit together securely. Test each stone for stability before moving on to the next one.
6. Maintenance
a. Regular Inspection
After completing your DIY boulder wall, conduct regular inspections for signs of wear, settling, or shifting. Address any issues promptly to prevent further damage.
b. Professional Consultation
If you encounter structural issues or are unsure about any aspect of your boulder wall, consider consulting with a professional landscaper or contractor for guidance.
Utah Boulder Walls: Your DIY Resource
At Utah Boulder Walls, we support ambitious homeowners in their DIY projects. Whether you need advice, guidance, or high-quality boulders for your project, we’re here to help. We understand the satisfaction of creating your boulder wall and are committed to ensuring your success.
Ready to embark on your DIY boulder wall project? Contact us at 385-417-3854 or visit our website here to discuss your project with our team. Let’s turn your ambition into a stunning and durable boulder wall that enhances your outdoor space.


